¶ Cli 설정
¶ 개요
AWS CLI 를 설치한 뒤 자동 완성을 켜고, IAM 에서 액세스 키를 발급받아 aws configure 로 등록한다. 자격 증명은 ~/.aws/credentials, 리전과 출력 형식은 ~/.aws/config 에 저장된다.
¶ aws_completer
경로 확인
which aws_completer
/usr/local/bin/aws_completer
PATH 에 없으면 추가한다.
echo "export PATH=$PATH:/usr/local/bin/" >> ~/.bash_profile
bash 자동 완성 등록
echo "complete -C '/usr/local/bin/aws_completer' aws" >> ~/.bash_profile
source ~/.bash_profile
¶ IAM 액세스 키 발급
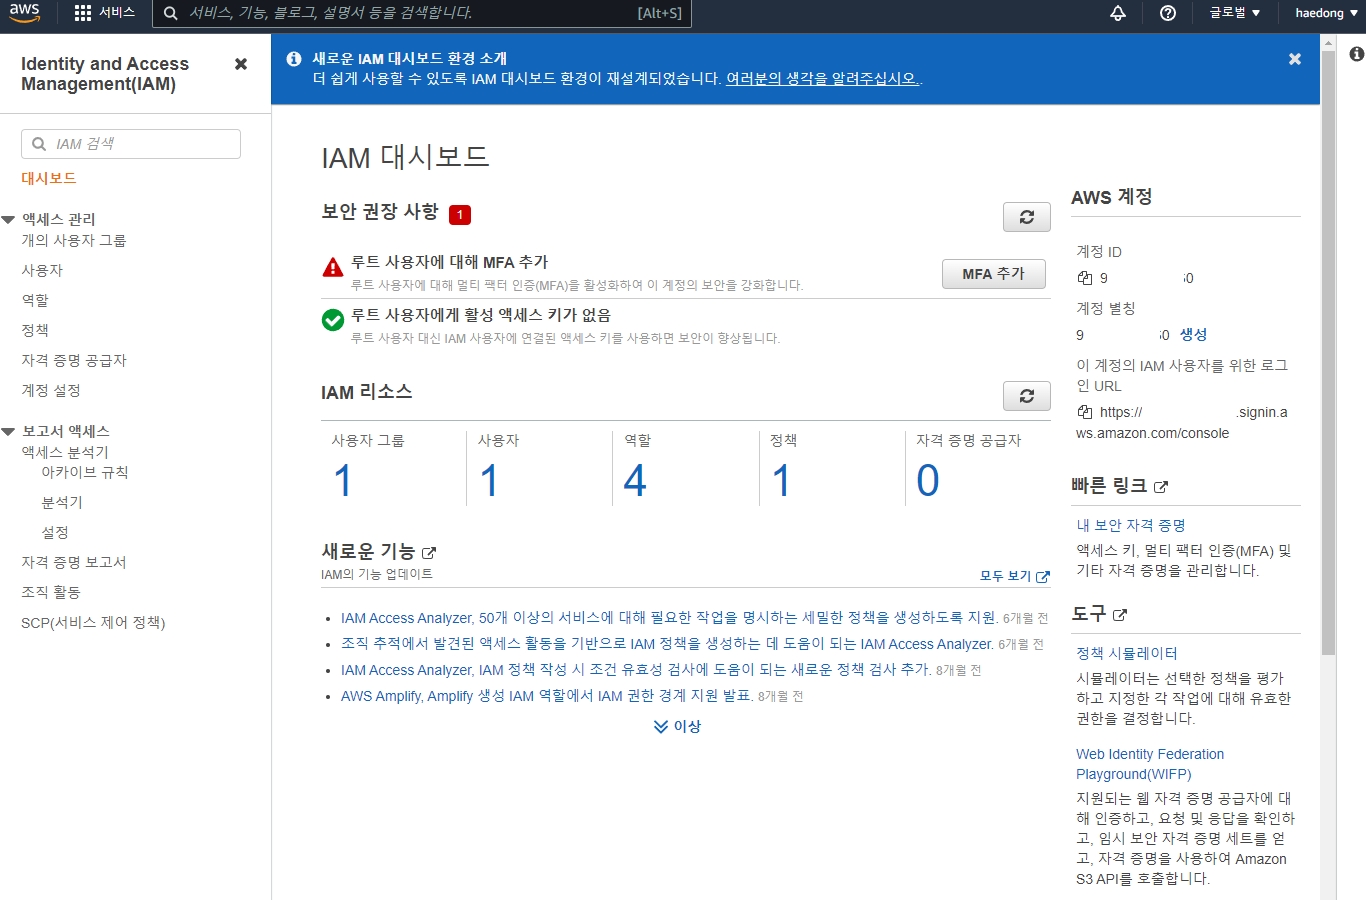
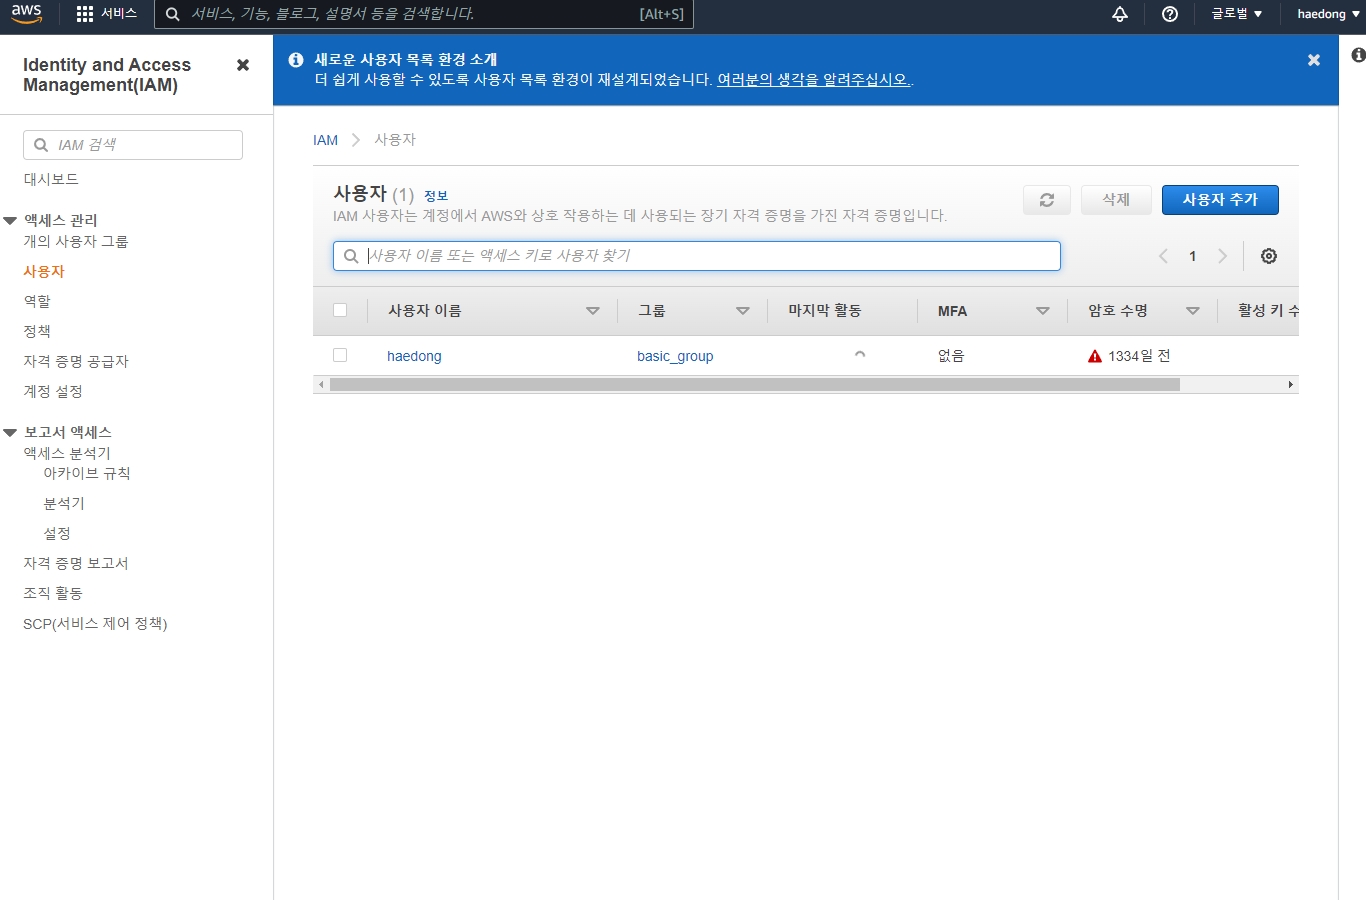
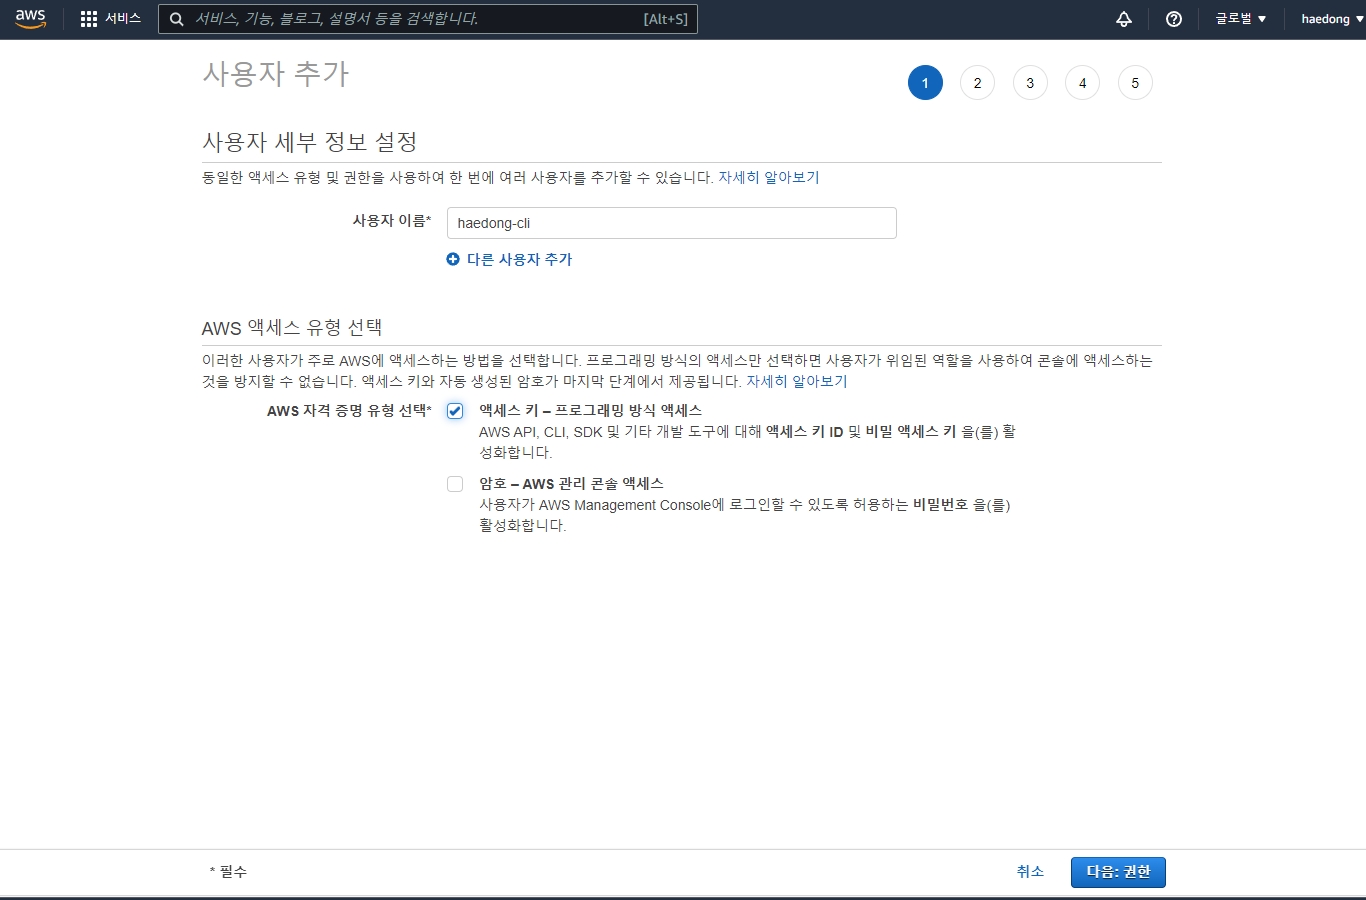
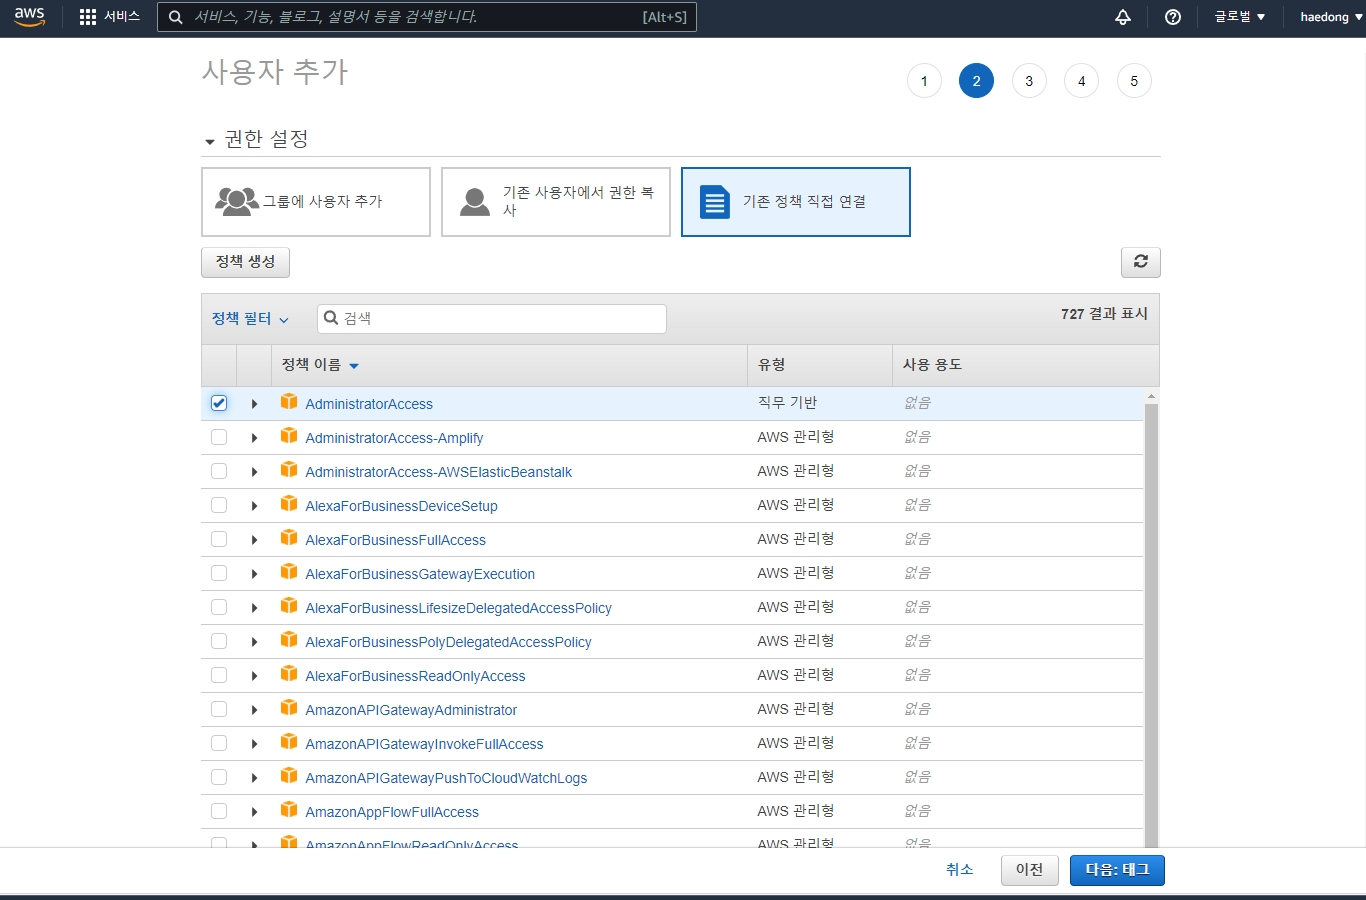
CLI 로 접속할 IAM 사용자를 만들고 액세스 키를 발급한다. 콘솔에서 [IAM] - [사용자] - [사용자 생성] 으로 들어가 프로그래밍 방식 액세스 권한을 주고, [보안 자격 증명] 탭에서 액세스 키를 만든다.
 |
 |
| ----------------------------------- | ----------------------------------- |
 |
 |
| ----------------------------------- | |
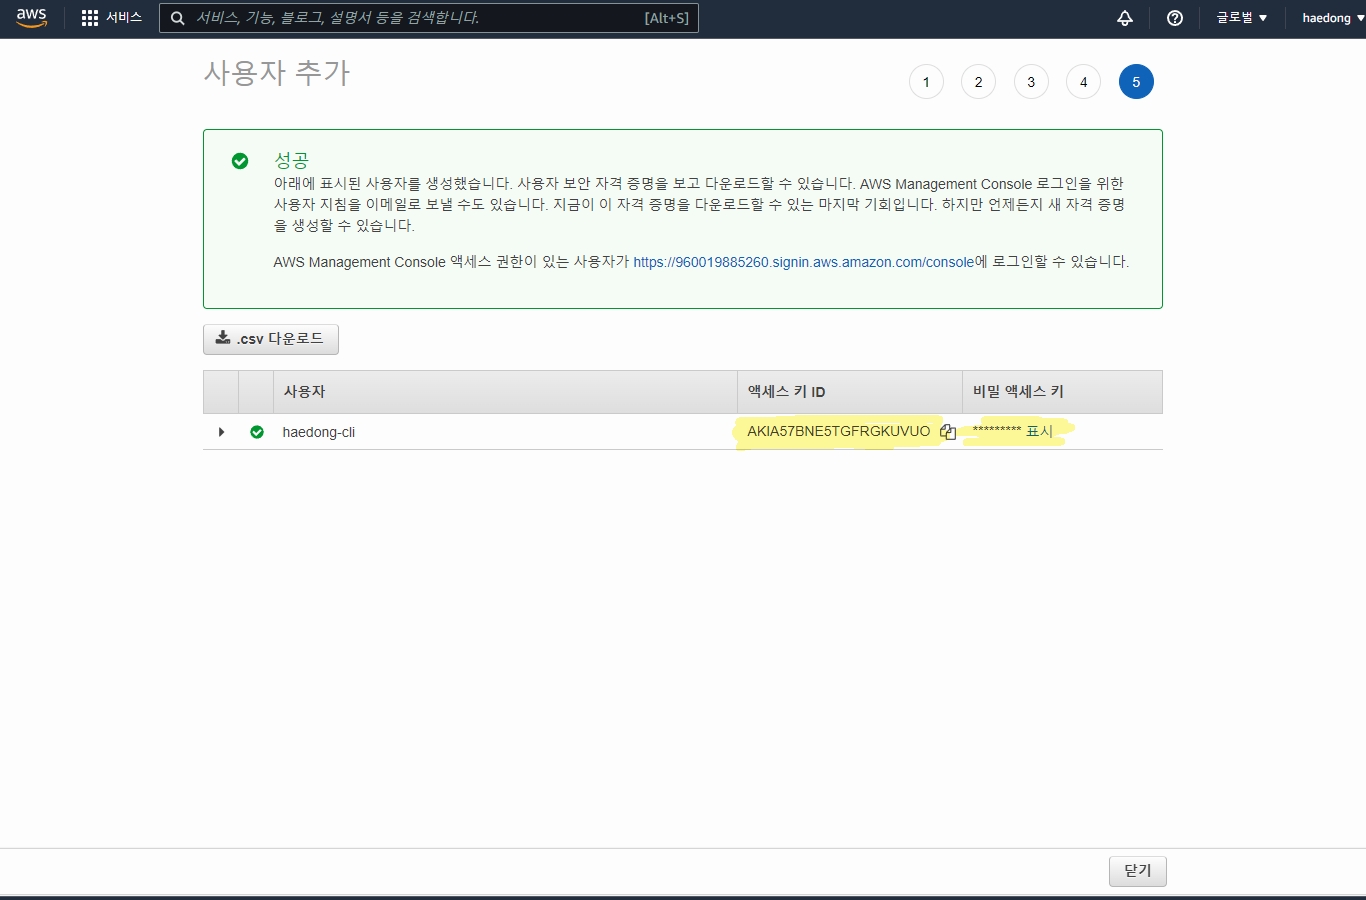 |
액세스 키 ID 와 시크릿 액세스 키를 확인해 따로 보관한다. 시크릿 키는 발급 시점에만 볼 수 있다.
¶ 자격 증명 등록
aws configure
AWS Access Key ID [None]: AsdfwefwdfsadfasdJ
AWS Secret Access Key [None]: fsdfwfwefwsdfsadfawefawfasdfb
Default region name [None]: ap-northeast-2
Default output format [None]:
| 항목 | 값 |
|---|---|
| AWS Access Key ID | 액세스 키 ID |
| AWS Secret Access Key | 시크릿 액세스 키 |
| Default region name | 기본 리전. 서울은 ap-northeast-2 |
| Default output format | json · text · table · yaml. 비우면 json |
여러 계정을 쓰면 aws configure --profile 이름 으로 프로필을 나누고 --profile 옵션이나 AWS_PROFILE 환경 변수로 고른다.
¶ 확인
aws sts get-caller-identity
aws s3 ls
2021-05-07 15:31:52 software-sharp
2020-09-24 16:00:13 software1
2020-09-24 16:22:03 software12
2020-06-10 09:25:13 elasticbeanstalk-ap-northeast-2-026233158752
2020-06-10 09:36:40 skkang
2020-09-16 15:03:29 sagemaker-studio-lac0qfd6
get-caller-identity 가 계정 ID 와 사용자 ARN 을 돌려주면 자격 증명이 맞는 것이다.